Winter Gardens
OCT. 24, 2020
What’s Up? Magazine & e-zine
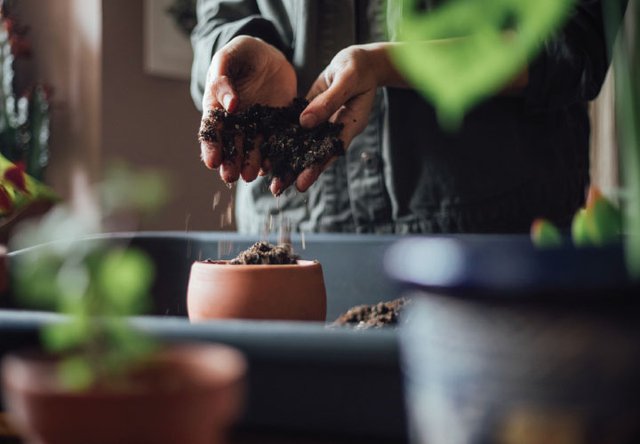
With winter approaching, our gardens, whatever their sizes, remind us that summer has ended. That pretty, red geranium won’t last past the first frost; our Hellebores will droop and wither. And what about that cheery, red tomato plant brightening the patio and our salads? It too is at the end of its season.
But, don’t be too downhearted. I have a few suggestions that may lift your spirits and give you a chance to continue gardening all winter long.
How about bringing just a bit of your summer garden indoors for the cold months ahead? Or, start a fresh, indoor garden—maybe a few vegetables and herbs. It might be fun seeing if you can coax some carrots and radishes to flourish on your window ledge and brighten your winter salads.
So, first let’s talk about bringing some of your favorite plants indoors, and then I’ll go over some of the vegetables and herbs that can be fun to raise indoors.
Relocating Annuals Indoors
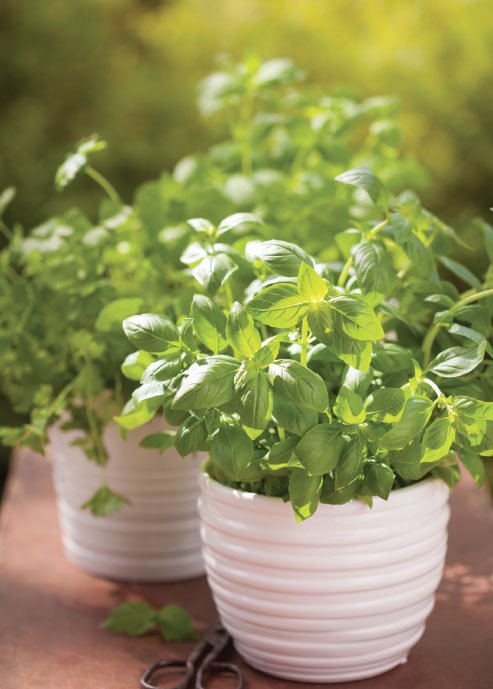
Perennial plants are equipped to survive winter and actually need that dormant “cool down” for their roots and bulbs to regenerate and gather energy for spring growth. Annuals can’t tolerate the cold. But, with a bit of preparation, annuals will keep growing and, in some cases, even bloom indoors throughout the bleak months of winter.
There are two ways to bring your pretty annuals inside:
#1 Dig up the healthiest specimens of each annual.
• Be careful to dig a few inches away from the plant’s stem, lifting out a pot-size root ball.
• Check your plant for bugs. Look for things like tiny white aphids on the underside of the leaves and where the leaf meets the stem. If you see any suspicious little specks or crawlies, hose off the plant with a gentle but firm spray of water. Another method, which I prefer to insure I’ve gotten the bugs, is to fill a pail with water and a few drops of dish soap. Submerge the plant in the water for 10–15 minutes. That will get rid of insects on the plant and among the roots – another hiding place for those pests.
• Using fresh potting soil, situate your specimens in clean pots or bowls, pitchers, or whatever you think will be an attractive container. Be sure there is drainage. You may need to add vermiculite to the soil and/or line the bottom of the pot or bowl with small pebbles so the roots won’t sit in water.
• When choosing the containers, keep in mind where you plan to place the plants. If you have narrow windowsills, you’ll want to choose containers that will sit on those narrow surfaces. Or, you might want to buy windowsill extensions or plant stands.
• Thoroughly water the old plants in their new soil nests. You’ll want the soil to settle around the roots to avoid air pockets among the roots.
• Most plants are light sensitive. Some prefer diffused light, others bright sunshine. You’ll know where to place your annuals based on where they flourished outdoors. Try to find steady light for your flowering friends, as they acclimate to being indoors. If they’re happy and you’re lucky, you may get pretty blooms in December and January.
• Speaking of acclimating: After you’ve potted your plants, you may want to help them adjust to their new homes gradually by setting them outdoors, on the deck or porch during the day for a week or so. Be sure to bring them in at night; you don’t want them to get too cold. The gradual change in climate will make it easier for your plants to feel at home in their indoor surroundings.
• Don’t be alarmed if, at first, the plants drop some or many of their leaves. As long as little leaf buds begin to appear along the stems, they’ll be okay. Expand
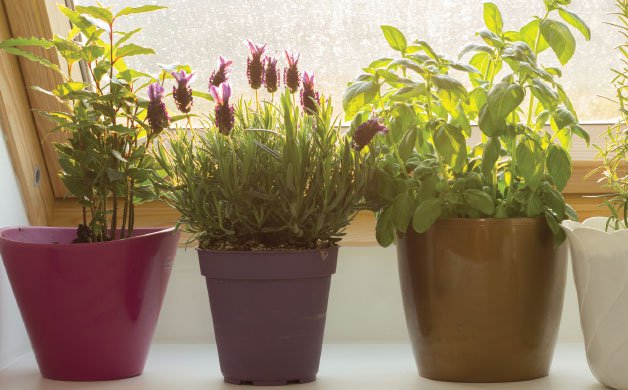
#2 Start new plants by using cuttings from your outdoor annuals.
(This technique is lots of fun, and may make a great project to share with children—your own, your neighbors, and grandchildren. It could even serve as a science experiment if you and your little assistant take photos and keep records of watering, fertilizing, and growth. Think about it as a remote project to share with little ones who are far away. They can participate with the coaxing of the cuttings and watching the plants grow and flourish via the internet.)
• Some of the sure-fire annuals that respond well to reproduction by cutting include: Lantana, Coleus, Fuchsia, Wax Begonia, and Sweet Potato Vine. If none of those are growing in your garden, there are others, of course, which you can research on-line.
• Take your cutting sheers, a basket or flat box lined with wet paper towels, and wander through your flower beds looking for healthy, happy annuals. Look for the newish growth and snip a cutting that’s about 6” long; you may want to take 3–4 cuttings of each type of plant. Avoid cutting a section that has a flower or bud on it; the plant will have used its energy producing the flower. If you can only find a piece with a bud or flower, snip off the flower. Carefully lay your cuttings on the damp towel. (If you think you’ll forget which cutting is from which variety of annual, devise some way to make notes. For example, take a picture of the plant with your cutting(s) next to it so you can refer back to the pictures later if you forget which little, sprouting cutting will become a begonia, which a Sweet Potato Vine. You’ll need to keep track somehow, since the amount of light required by each species will dictate each little plant’s location.)
• Once you have your cuttings, place the cuttings of a single type of plant in each jar, and add water up to about 2–3” from the base of the cuttings. You might have one jar with all the begonia cuttings, another jar with all the coleus. Be careful to submerge only about 1/3 of each piece. You don’t want the cuttings to drown, only to send out shoots/roots to absorb the water and nutrients.
• Set the jars in windows that have good light but not harsh sunlight. Within two weeks you’ll begin to see delicate tendrils emerging from the cuttings’ bases. (Don’t forget to take photos if you’re sharing the progress with children.) Over the next week these delicate roots will fill-in and become stronger.
• When you see a network of these rootlets, it’s time to plant the cuttings in their winter home. You may want to put several cuttings in one pot, which encourages a fuller plant. Or, you might want to put each cutting in its own pot. Like Goldie Locks and the Three Bears, each little plant will want a home that is not too big or too small. You can usually pick up tiny clay pots that will hold these new plants. But, any small container could work.
• Once the cuttings are planted in fresh potting soil and settled in their new homes, water each pot so the soil is moist but not soggy, perhaps adding some light fertilizer. Be sure to give them enough water to settle plant roots.
• Move the new plants to the locations you’ve chosen for them—with just the right amount of light, and plan to water them as needed, usually once a week. If you’re working with a budding scientist, be sure to keep a record of watering amounts, hours of sunlight, and plant growth.Expand
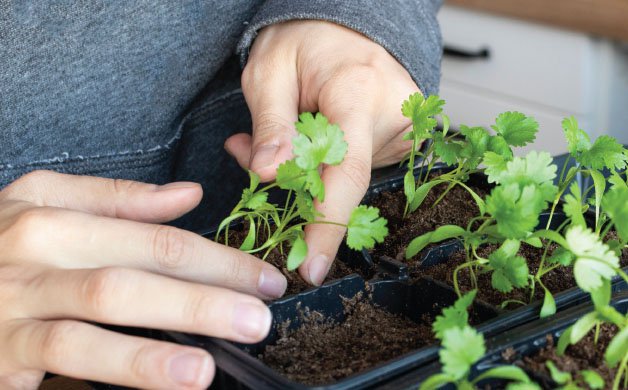
Setting Up a Winter Vegetable and Herb Garden Indoors
While I don’t recommend you give up trips to the grocer for fresh vegetables and fruit, you may want to experiment with raising a variety of vegetables in your own window garden. Again, this might be a great activity to undertake with young people. You’ll only need a few things to get started:
Location: For most herbs and vegetables, you need windows that provide sunlight 5–6 hours most days. (Failing this, you can invest in grow lights. Some companies produce grow lights that will fit in regular light sockets.)
Equipment: Purchase high-quality vegetable and herb starter plants and seeds, pots that breathe; terracotta, for example, and non-permeable trays to hold the pots and any drainage. You may also want to devise some shelves or cases to hold your garden.
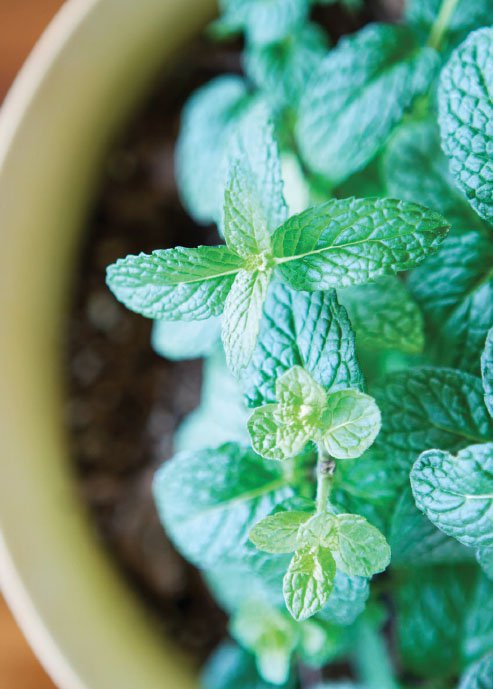
Watering: Obviously, water and fertilizer will be essential. Different herbs and vegetables require different amounts of water, so you may want to prepare some sort of chart or calendar for watering and fertilizing.
Once you have prepared your resources, the fun begins. Among the herbs and vegetables that lend themselves to indoor gardens are:
Arugula: adds a bit of zing to winter salads and can be “harvested” several times since it grows back after cutting.
Carrots: short varieties such as Little Fingers: be careful to plant the seeds in containers deep enough to allow the root plant to grow.
Culantro (similar to Cilantro): a sweet, not bitter, herb that adds zest for cooking.
Kale: adds color as well as flavor to winter meals. Gardener Tiffany Davis advises you harvest the outer kale leaves as the inner leaves continue to mature outward.
Leaf celery: (not stalk celery) adds color to a salad; Leaf celery can be pink or lime green.
Lemon grass: a distinctive herb; the plant will grow quite large, so choose a big pot, and keep it in a warm location, away from drafts.
Potatoes: while it’s fun to harvest and eat your own winter potatoes, you may want to buy specially designed bags in which potatoes can be grown. These bags come with rich soil and the seed potatoes ready to be planted. You won’t be raising these potatoes for a quantity harvest.
Radishes: fun root vegetables that are easy to grow and tasty.
Sprouts: those familiar, nutty little veggies that will grow almost anywhere in almost any substance. They can be bought as sprout kits.
Tomatoes: Ah, how lovely to have some plump, little Cherry Tomatoes to pluck from your own vine. They’ll require patience, but they’ll be worth the wait.
Whatever you decide to grow in your indoor, winter garden, you will have some frustrations, but you’ll also have some triumphs and fun. Winter is a perfect time for expanding your gardening expertise and enjoying the small, easy challenges of a window garden or veggies and herbs under grow lights. Who knows; you might find it’s almost as satisfying to garden in winter as it is in summer.

A very interesting article. As I was reading the part about taking pictures for the grandchildren to see, I thought, oh my, every picture I’d take would probably look the same, just black dirt!! I give this article an A+. Well done!! Love you
—————————————–
Wow. You are a generous grader! 😄😘